Creating a campaign map tells AdLabs what campaigns to look for keywords in (Source Campaign/Ad Group) and where to place the keywords once we find them (Destination Campaign/Ad Group).

The campaign map lets you pre-set:
Where you want to pull from and harvest into,
How to start out the bids in the new campaign,
What match type(s) to use
Whether to negate the search term in the Source Campaign
You can create your campaign map in two different ways:
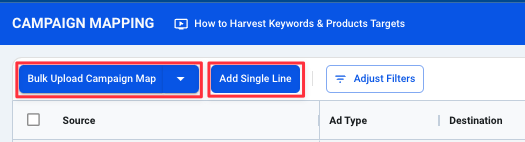
Single Line, or
Bulk Upload (Using Excel Campaign Map)
If you have a smaller number of campaigns, ad groups and products, or just need to set up something quick, using the Single Line method might work best.
To set up your campaign map using Single LIne, fill out the fields on the form illustrated below with your desired inputs.
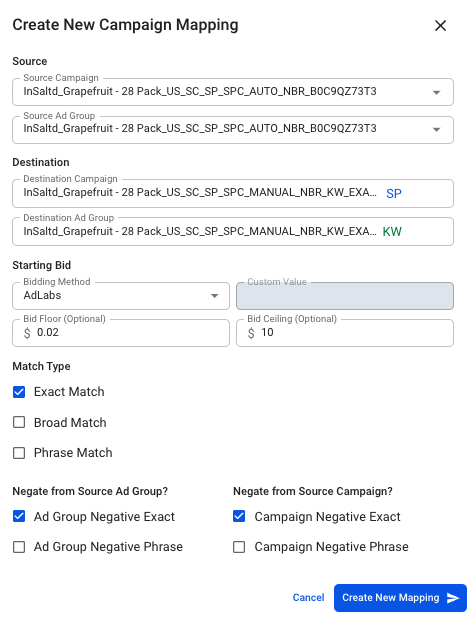
In order to complete the mapping, you will need to input your selections for all of the following:
Source Campaigns & Ad Group
Destination Campaign & Ad Group
Starting Bid Methods & Inputs
Match Type
Negative in Source (optional)
Within the keyword harvesting tool, there are multiple ways you can choose to set your starting bids when pulling targets into new campaigns
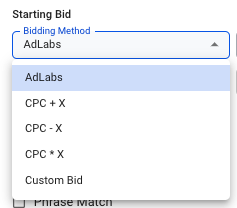
AdLabs: Sets your starting bid to the Destination Campaigns target CPC, while also factoring in the placement modifications set in that campaign.
CPC + X: Sets your starting bid to the converting CPC for the search term + X
CPC - X: Sets your starting bid to the converting CPC for the search term - X
CPC X: Sets your starting bid to the converting CPC for the search term X
Custom Bid: Set your starting bid to a customized value (example: $1.00)
Within the bid setting options you can also set a bid floor or ceiling. This feature is optional, and enables you to cap or put a minimum on what your bids will be set to when harvesting into the destination campaign.

Finally, you need to determine the Match type you want to use, and whether you want to negate the harvested search term from the Source Campaign upon harvesting it.
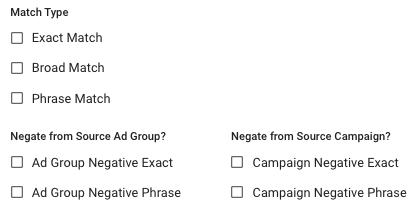
Note: The options will change depending on whether you are harvesting into a Keyword or Product Targeting campaign.
Once you are satisfied with your selections, click the Create New Mapping button and your map will be saved.
While the single line method offers a rather quick solution for one off mapping setup, using the bulk upload template provides a more efficient method for setting up your Campaign Mapping when working with more complex campaign structures/strategies.
This process is very similar to the Single Line method, only inside a spreadsheet. The template is compatible with Excel or can be imported into Google Sheets to be modified.
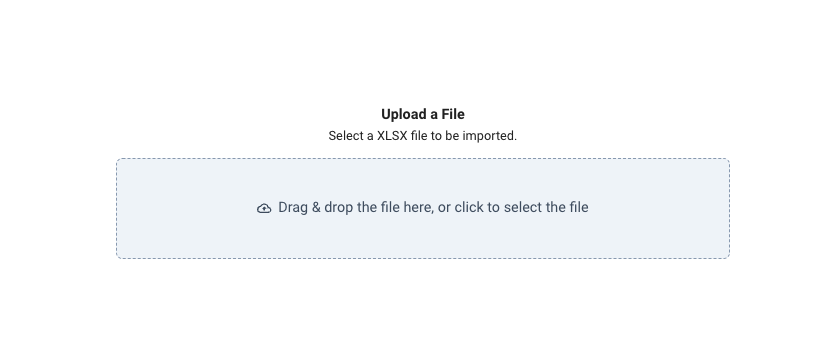
First, Download the Campaign Mapping template.

If you are using Excel, you can simply open and begin editing the template.
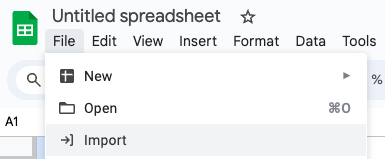
To Import into Google Sheets, first create a new spreadsheet (sheet.new). Go to FIle > Import > Upload > Browse > Find the file on your desktop > Upload the template.
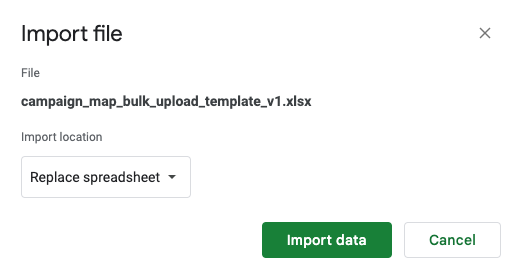
Once you’ve imported the file, you will select “Replace spreadsheet” from the dropdown menu, then click “Import data.”
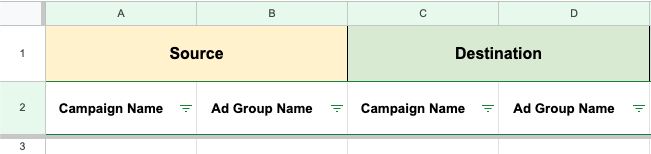
Fill out the Source Campaign and Destination Campaign fields from left to right.
It is recommended that you also download a list of all your campaign and ad group names from the ads console via bulk operations or Sponsored ads reporting console.
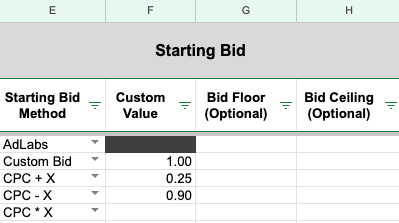
Next, choose your starting bid method. If you select AdLabs, the Custom Value column will be grayed out as you do not need to provide an input.
If you select any of the other starting bid methods, you will be required to input your desired custom value.
To dictate the match type being used and whether to negate in source you will simply use an “x” to indicate an option you DO want to utilize for each row.
Leave blank if you DO NOT want to utilize the match type/negation for the row.

Once you have defined your map, upload the finished version to AdLabs to save.
If you have further questions about how to fill out the campaign mapping template, refer to the video training located in the app here.
