Amazon added an ‘Audience’ feature to both Sponsored Product & Sponsored Brand campaigns.
This help article is to walk you through how you can first add audiences to your campaigns in bulk, and second, analyze the performance of the audiences.
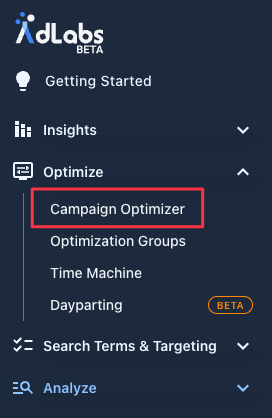
In order to add audiences to your campaigns, you will need to navigate to the ‘Campaign Optimizer’ dashboard.
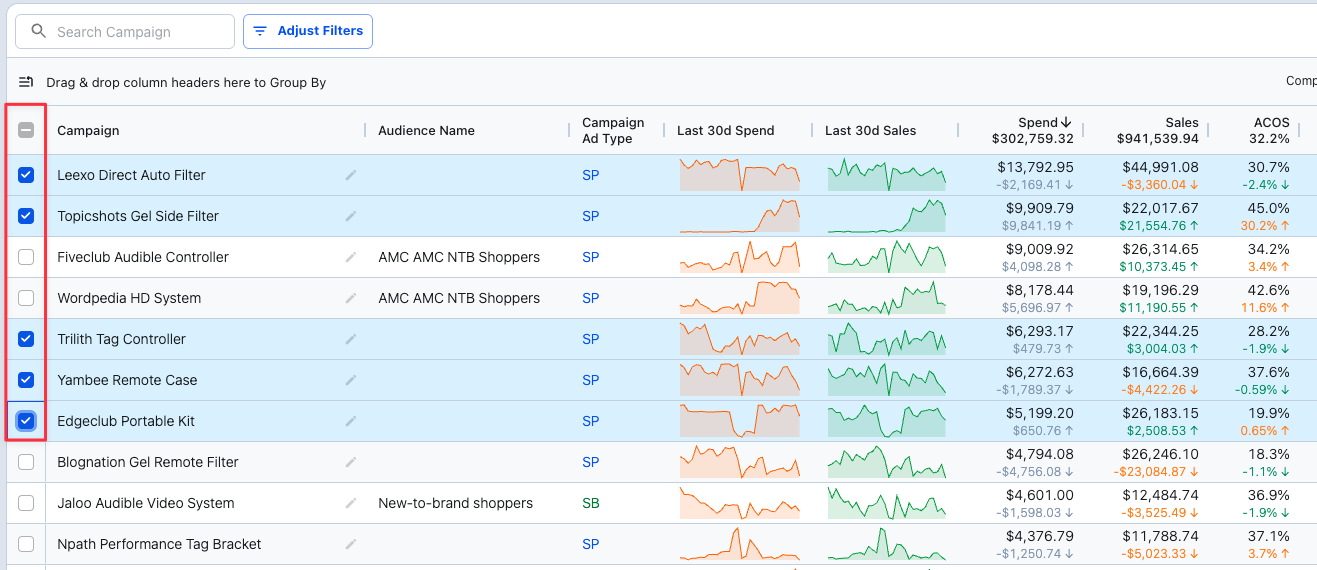
From here, select the campaigns you want to add audiences to.
You can add audiences to Sponsored Products & Sponsored Brands
After selecting the campaigns, in the action menu at the bottom of the screen click ‘Bulk Actions’ and you should see a dropdown for ‘Audience’
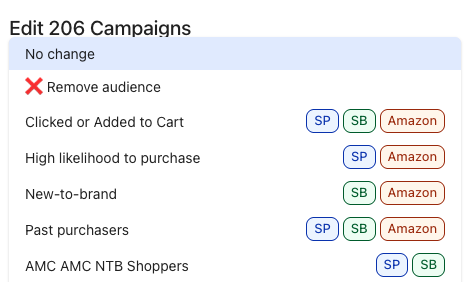

You can only add one audience to each campaign. Once you have selected the audience, you will set the audience bid adjustment, then click ‘Apply Changes’.

In the Campaign Optimizer table you can also add a column for ‘Audience Name’ to see which campaign already have an audience assigned to them.
To analyze your audience performance, navigate to the ‘Audiences’ tab under the ‘Analyze’ section in the left sidebar menu.

This dashboard shows you the performance metrics of the different audiences you have active and their associated campaigns.
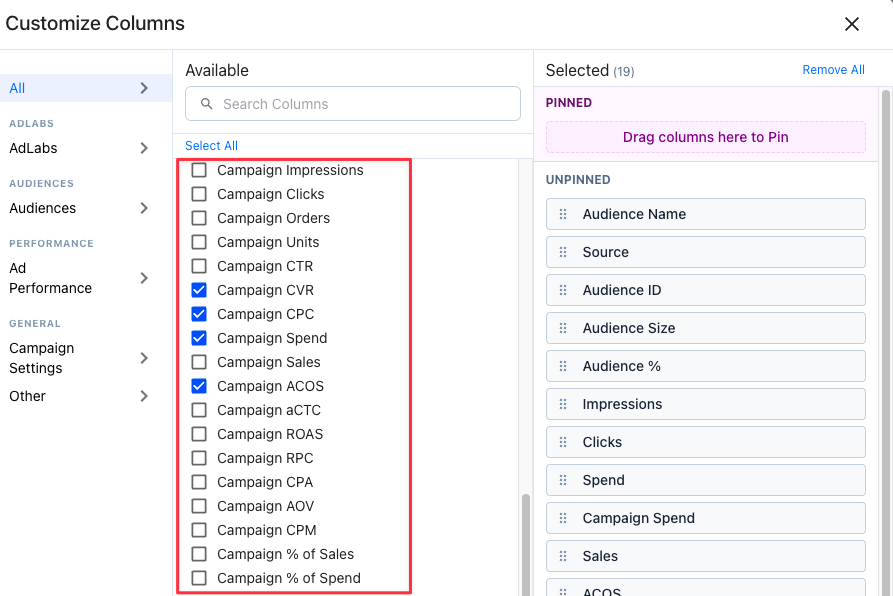
From the column selector, you can add columns for ‘Campaign-Level Metrics’ to compare the performance of the audience to the Campaign averages.
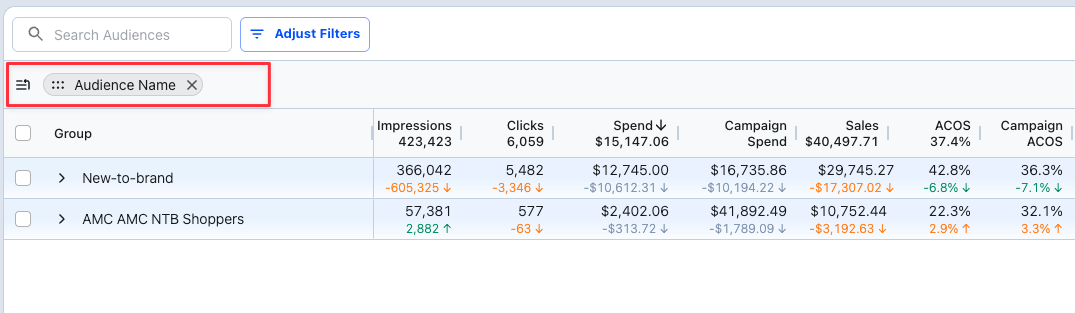
You can also group the data by ‘Audience Name’ to see, on aggregate, how audiences perform relative to one another.
Simply click and drag the ‘Audience Name’ column header in the section that says “Drag & drop column headers here to Group By”.
From this dashboard, you can also update the audience bid adjustments. Simply click the pencil icon in the ‘Audience %’ column and adjust the audience adjustment as desired.

