This guide will show you how to properly set up permissions and connect AdLabs to your client accounts when using the Service Provider Portal.
This process will involve three major steps:
Step 1: Client Sends You An Invitation
As a first step, your client will need to log in into their Amazon Seller Central Account, go to the “User Permissions” page, copy a default invitation link for “Authorized Partners” and send that back to you.
Step 2: You Accept the Invitation & Send An Invitation Back
You will open the link, accept the invitation as an authorized partner, and then send out an invitation on its own to you.
Step 3: Client Accepts Invitation & Sets Up User Permission
As a last step, your client will log into their Amazon Seller Central account, head over to the settings page “user permissions” and “authorized partners”, accept the invitation and begin adjusting the permission settings.
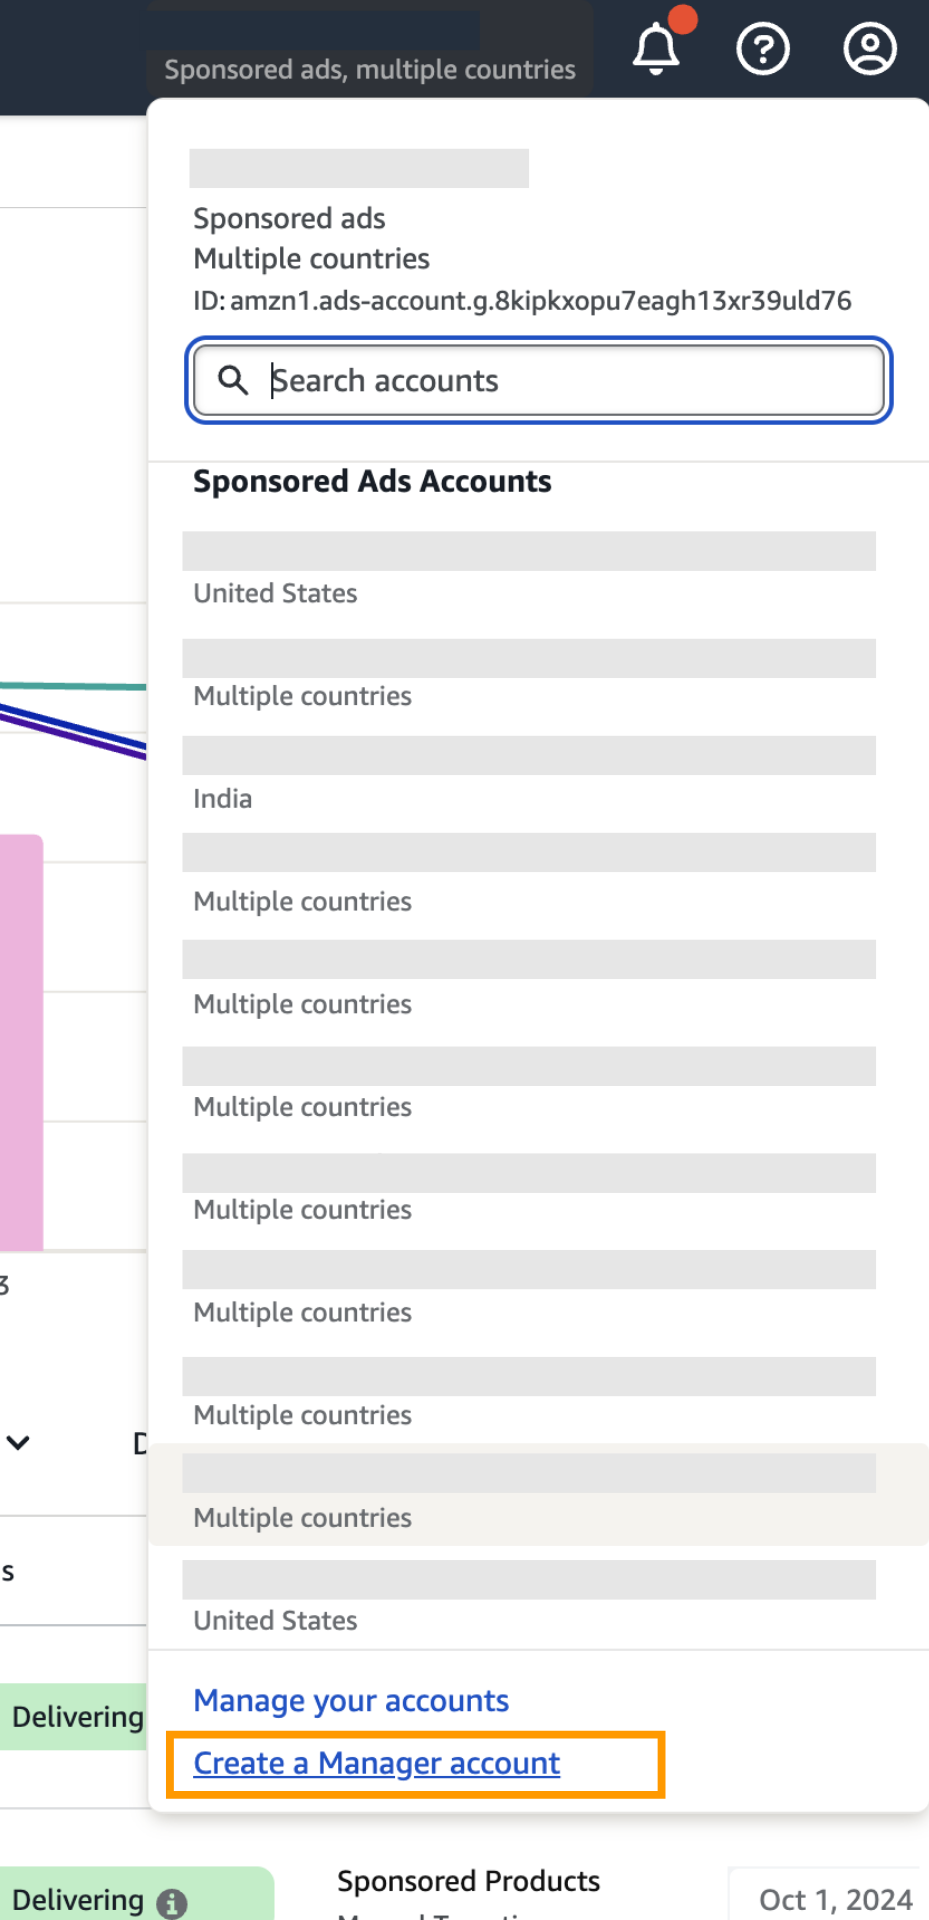
🚨 IMPORTANT NOTE: For agencies with sub-users, each sub-user must "Create a Manager Account"
Here’s a detailed step-by-step guide.
Log into your Amazon Seller Central backend using this link
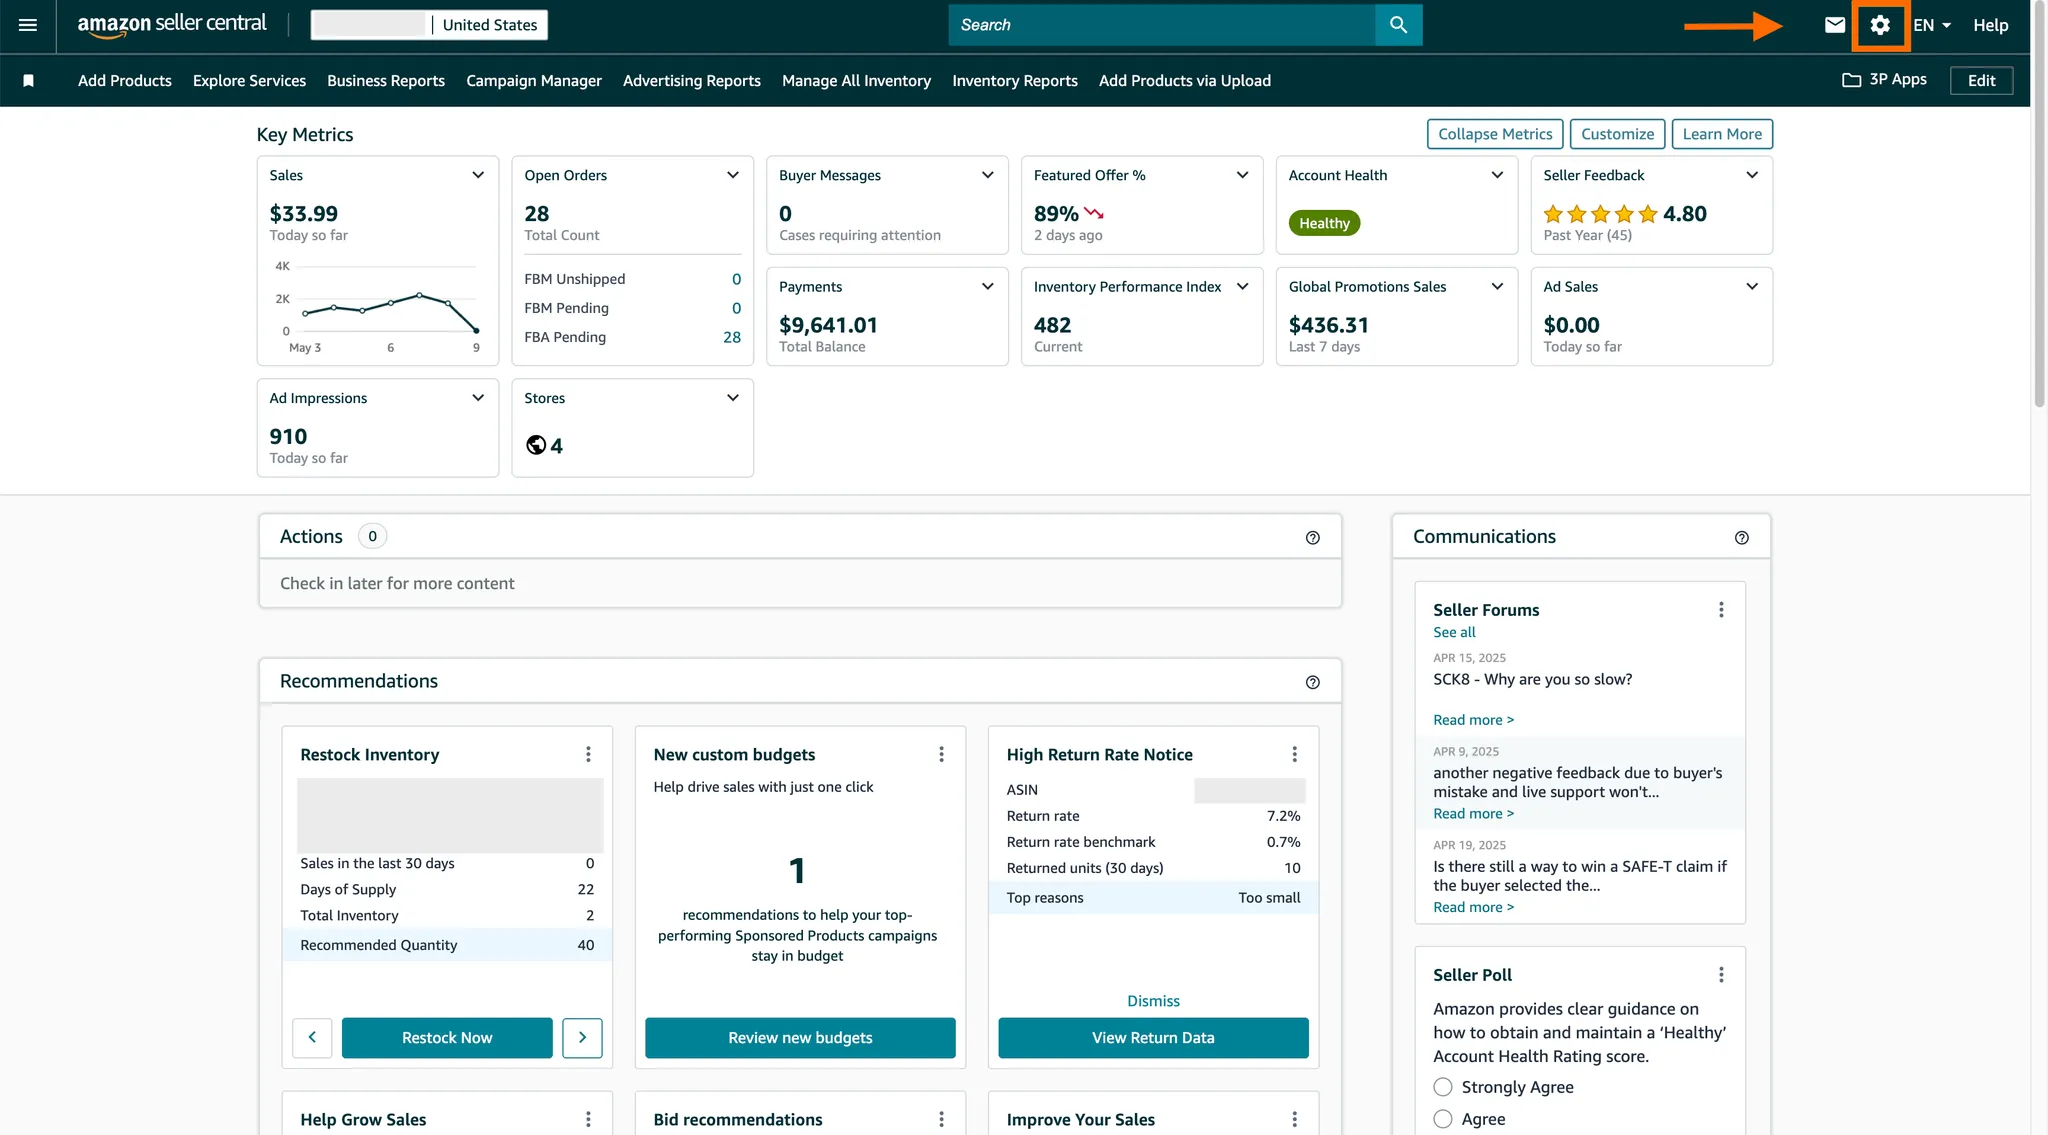
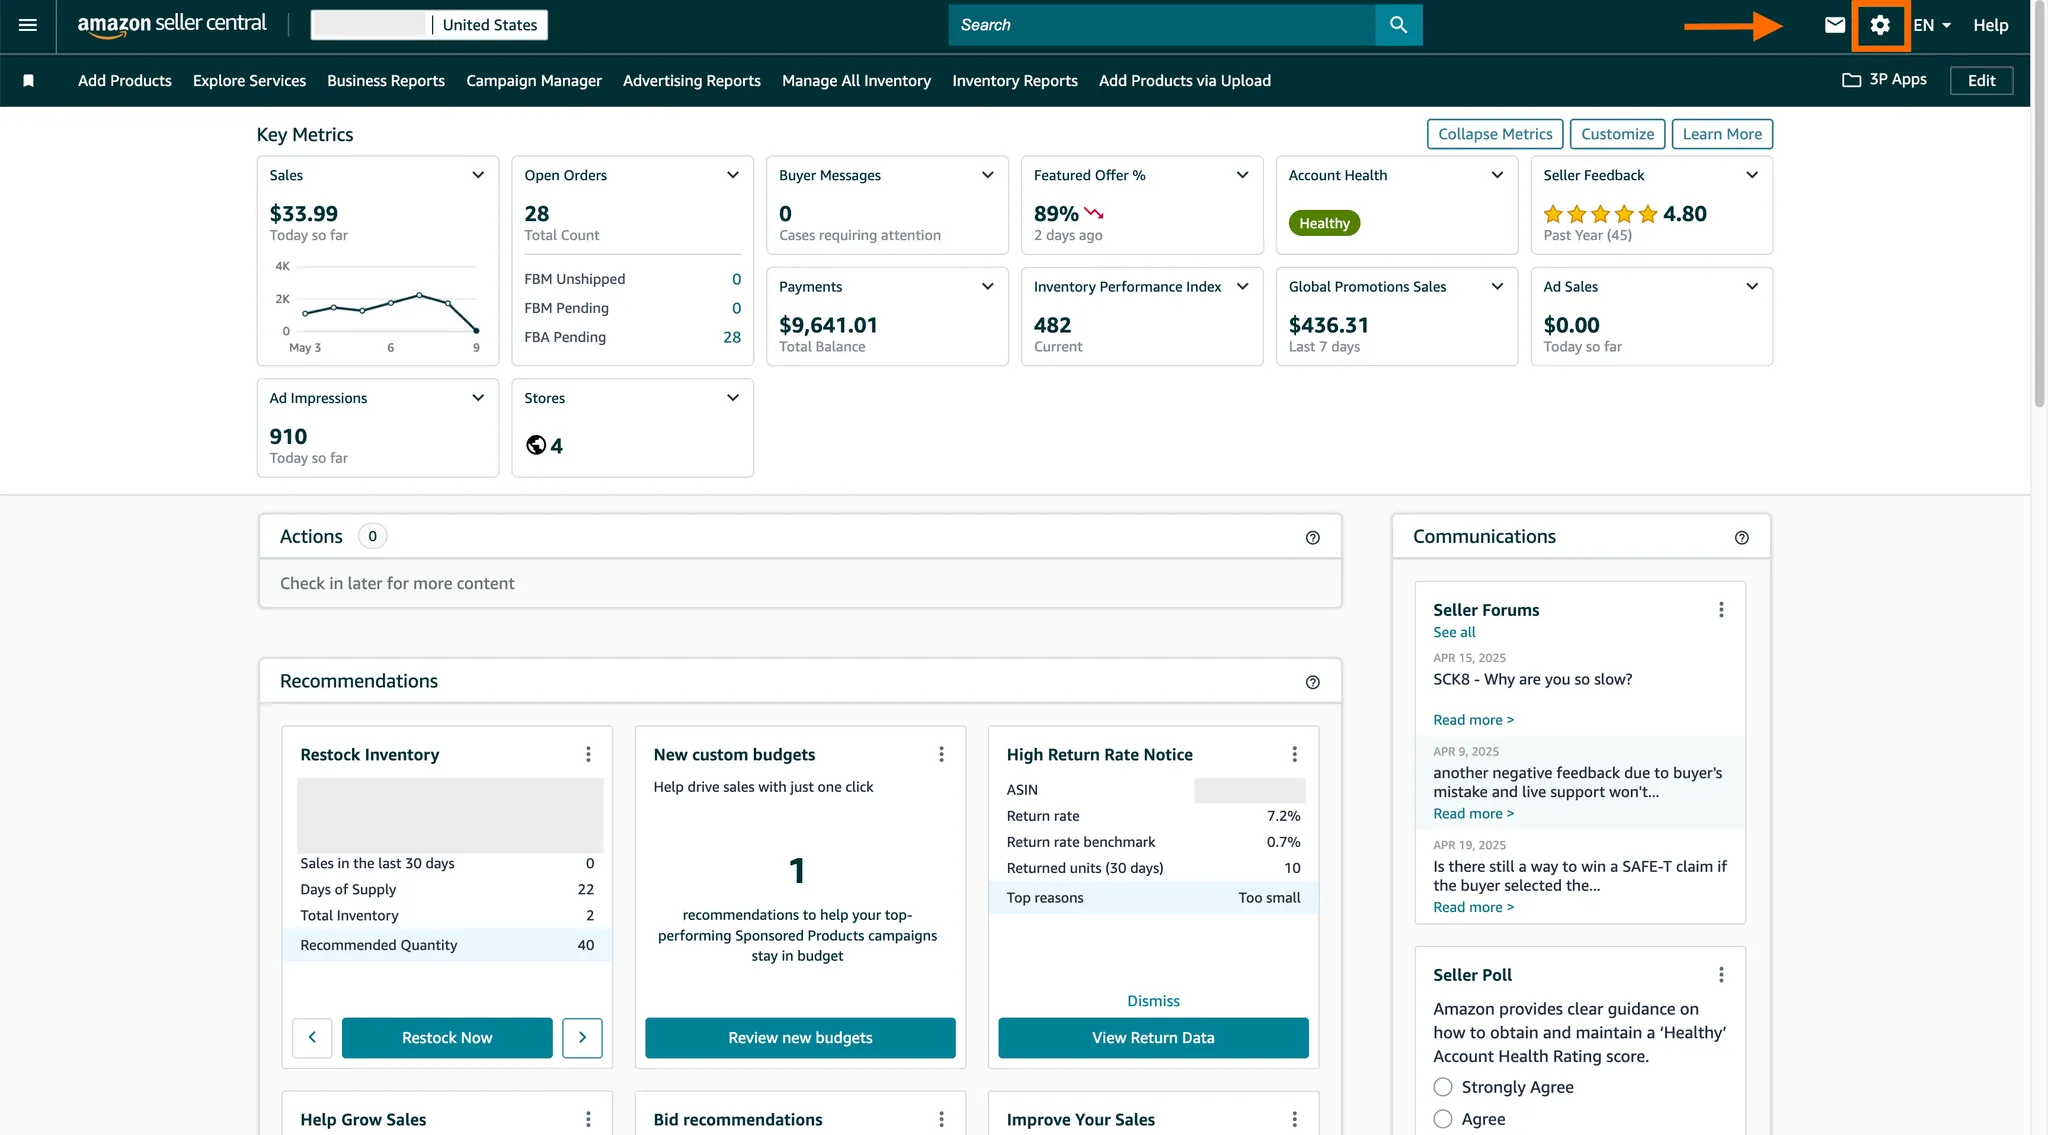
Click on the “Settings” wheel in the upper right corner
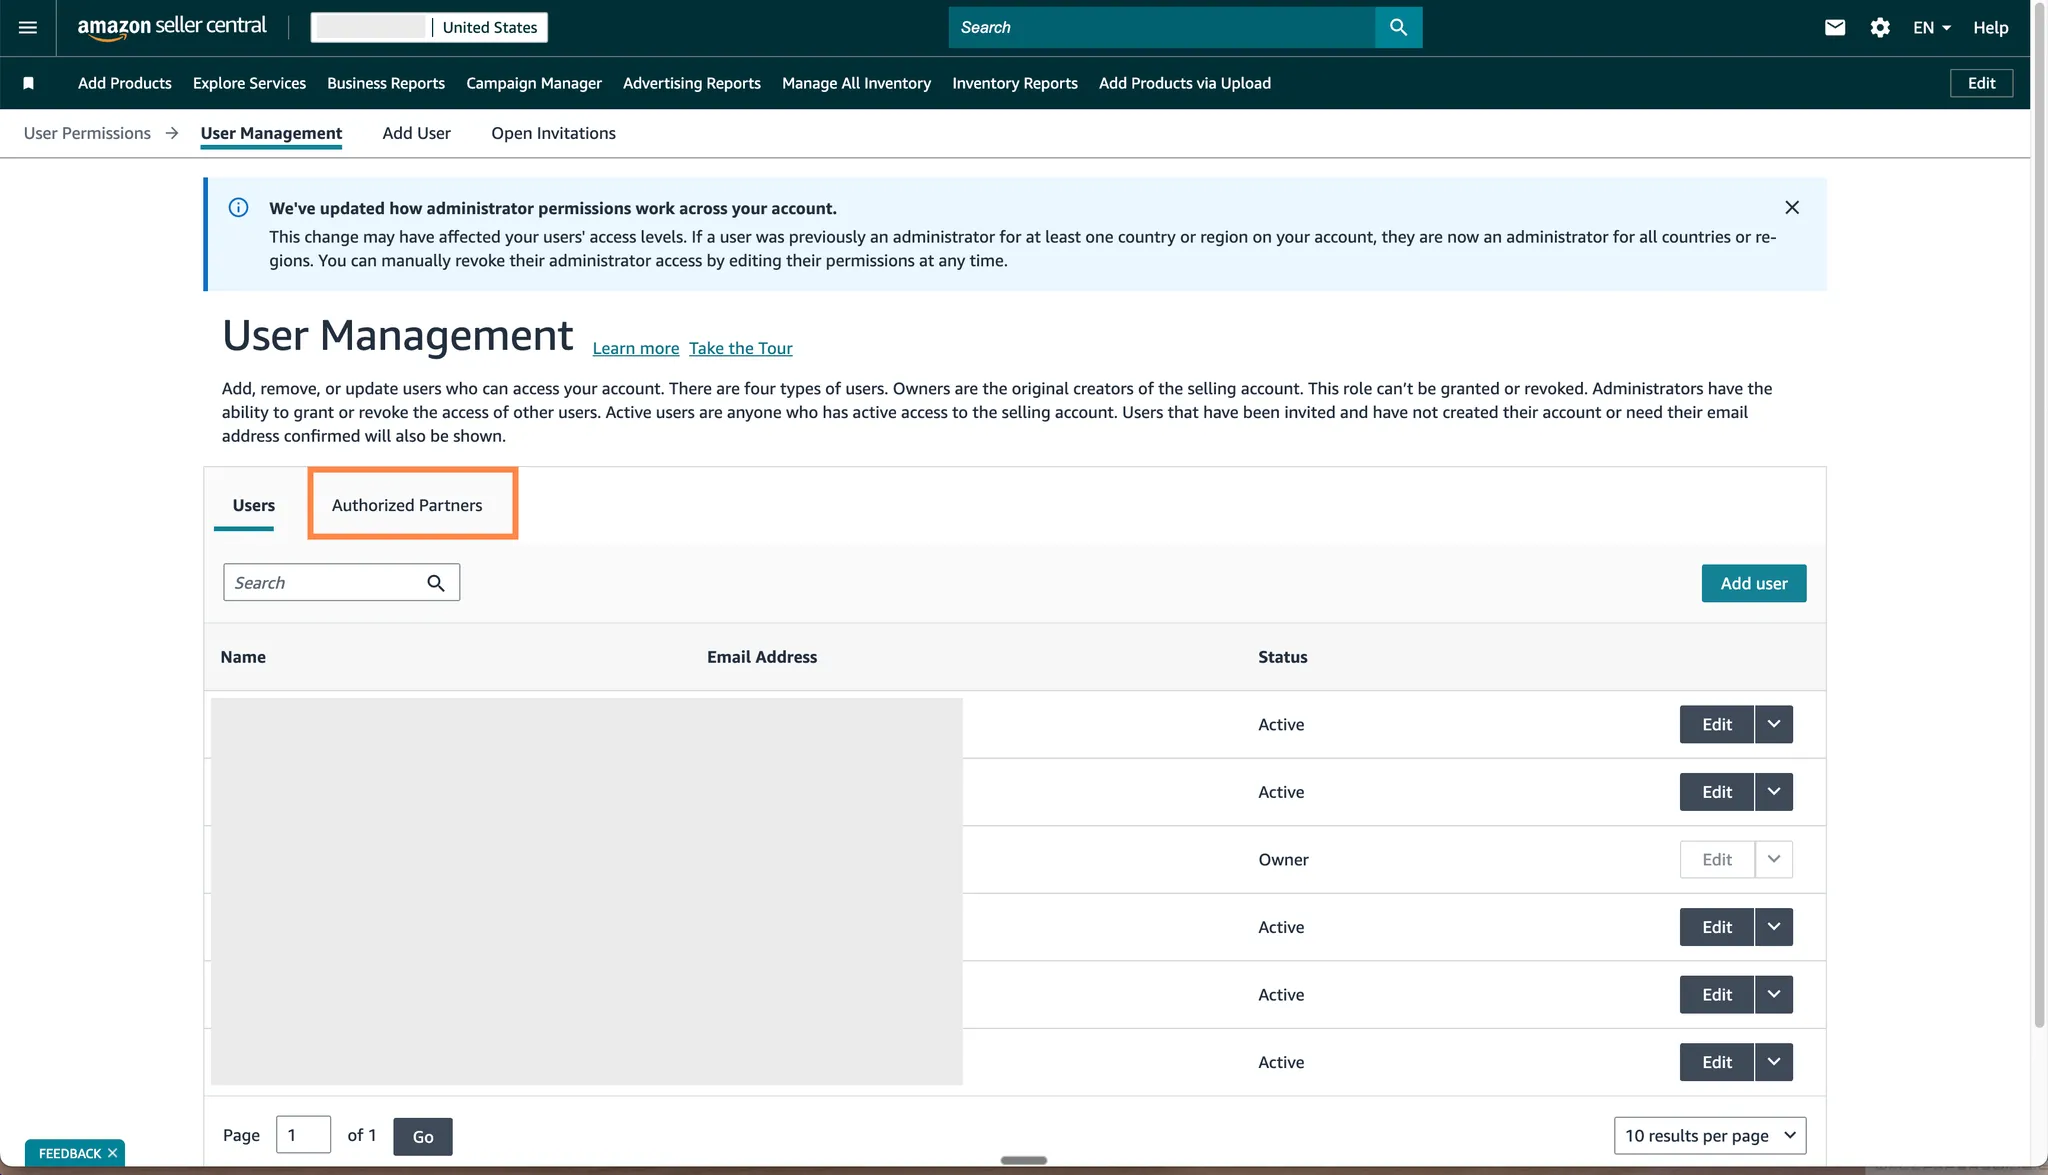
Go to the “User Permissions” page where there is a list of all current users
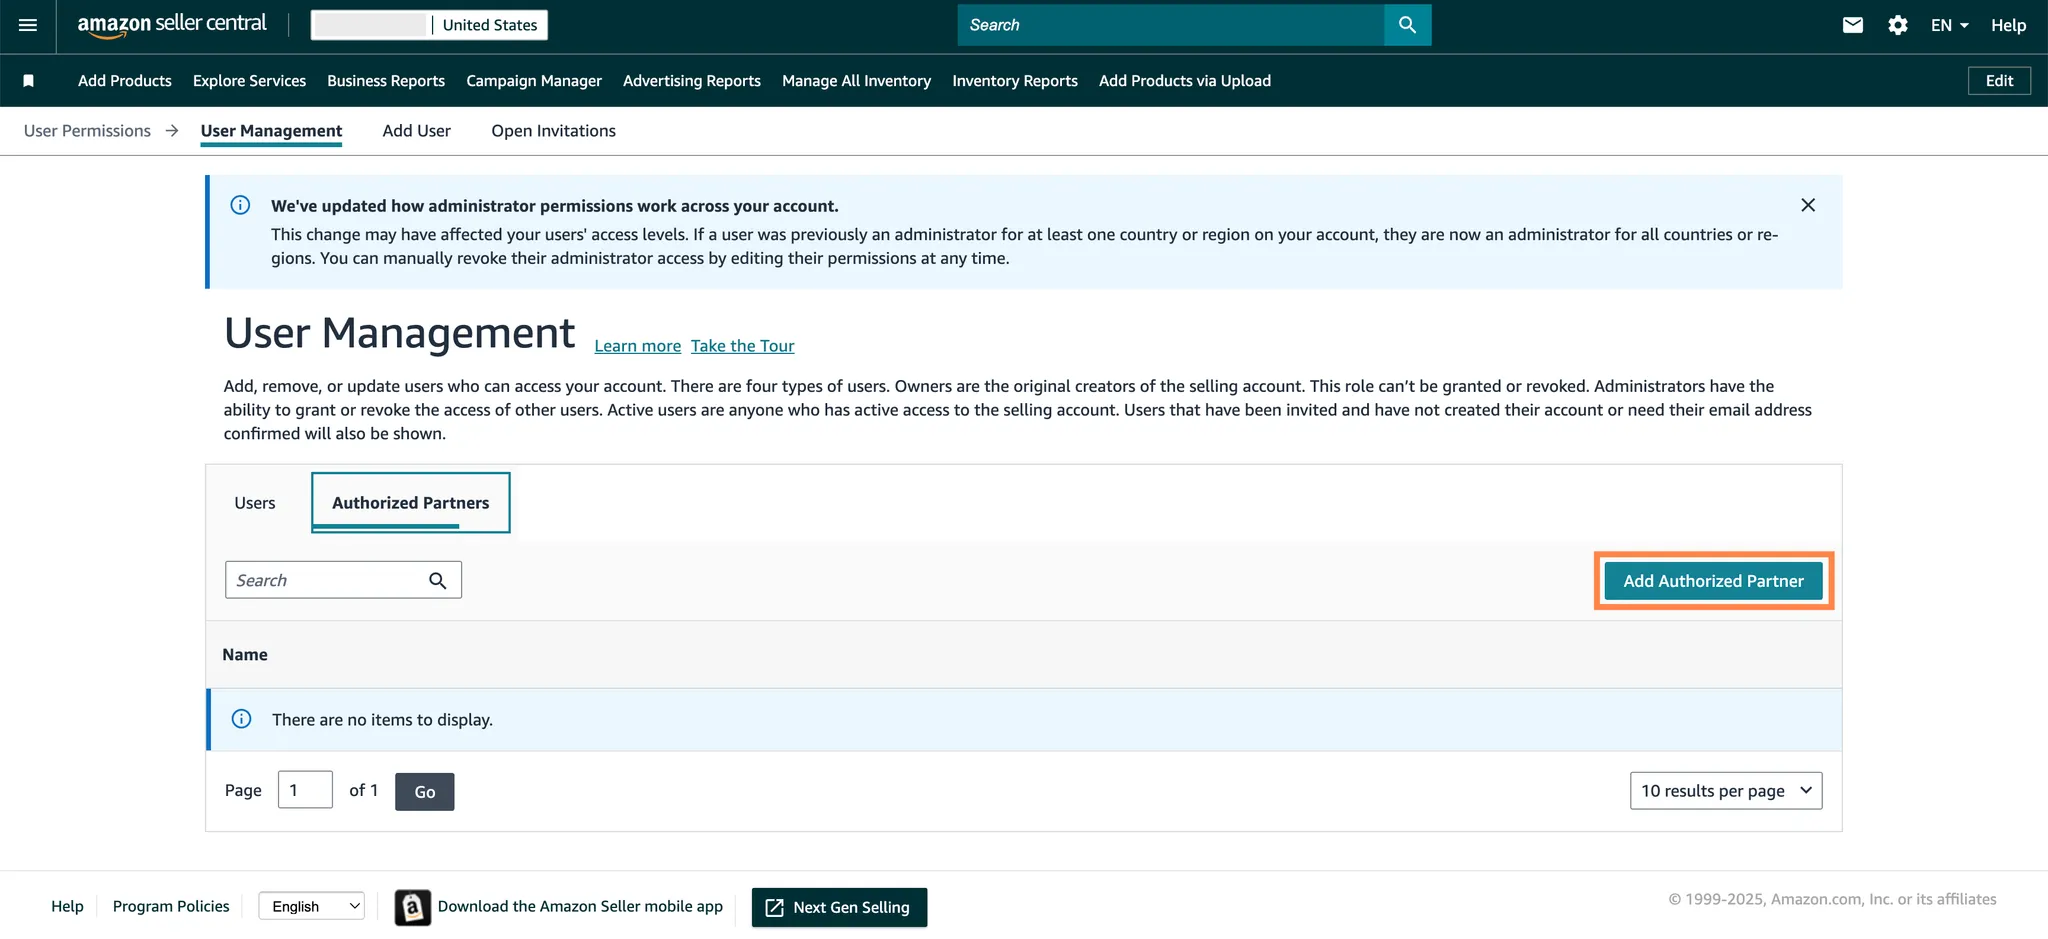
Click on the tab “Authorized Partners”
You should see a list of all your current authorized partners
Click on the green button “Add Authorized Partner”.
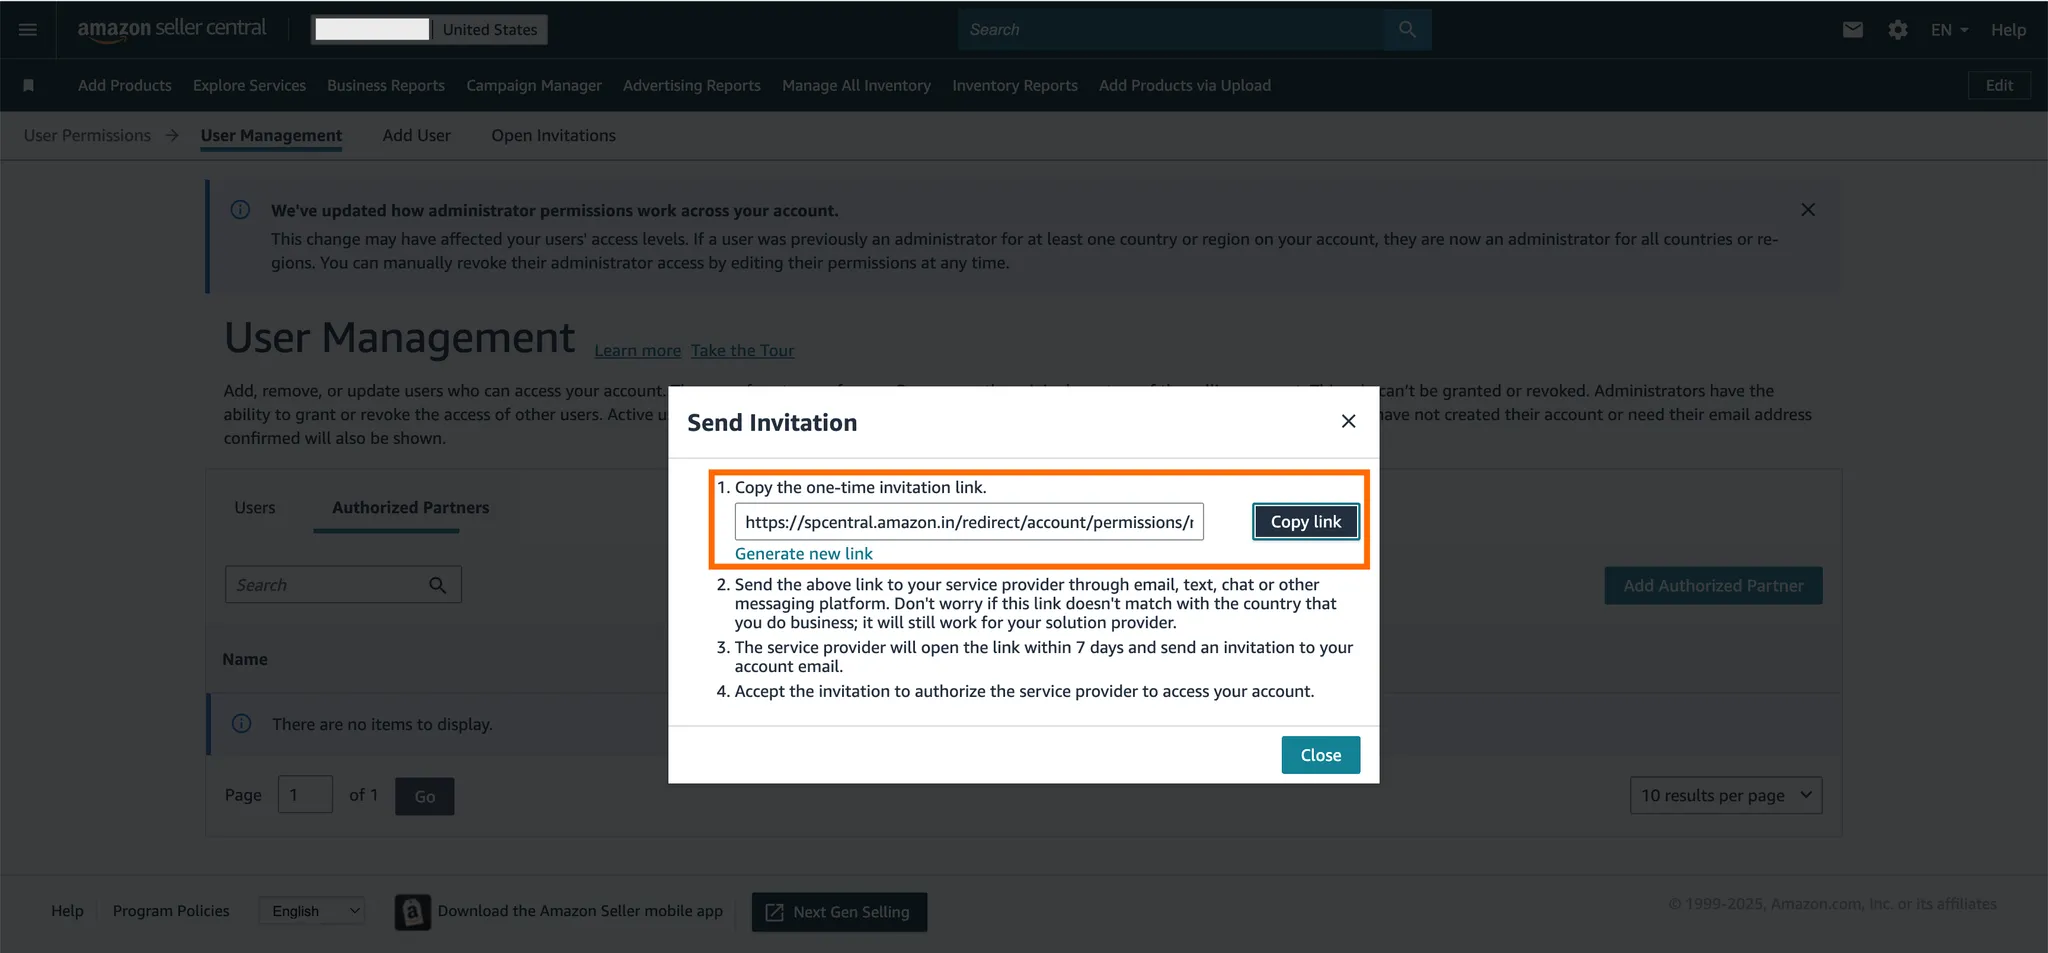
A window will open where you’ll see the invitation link
Click on “Copy link”
Client will then send the link to you via email or Slack
You will click the provided invitation link and accept the invitation
You will then create an invitation to the client
Inform your client once this has been done
Log into your Amazon Seller Central and go to the “User Permissions” page
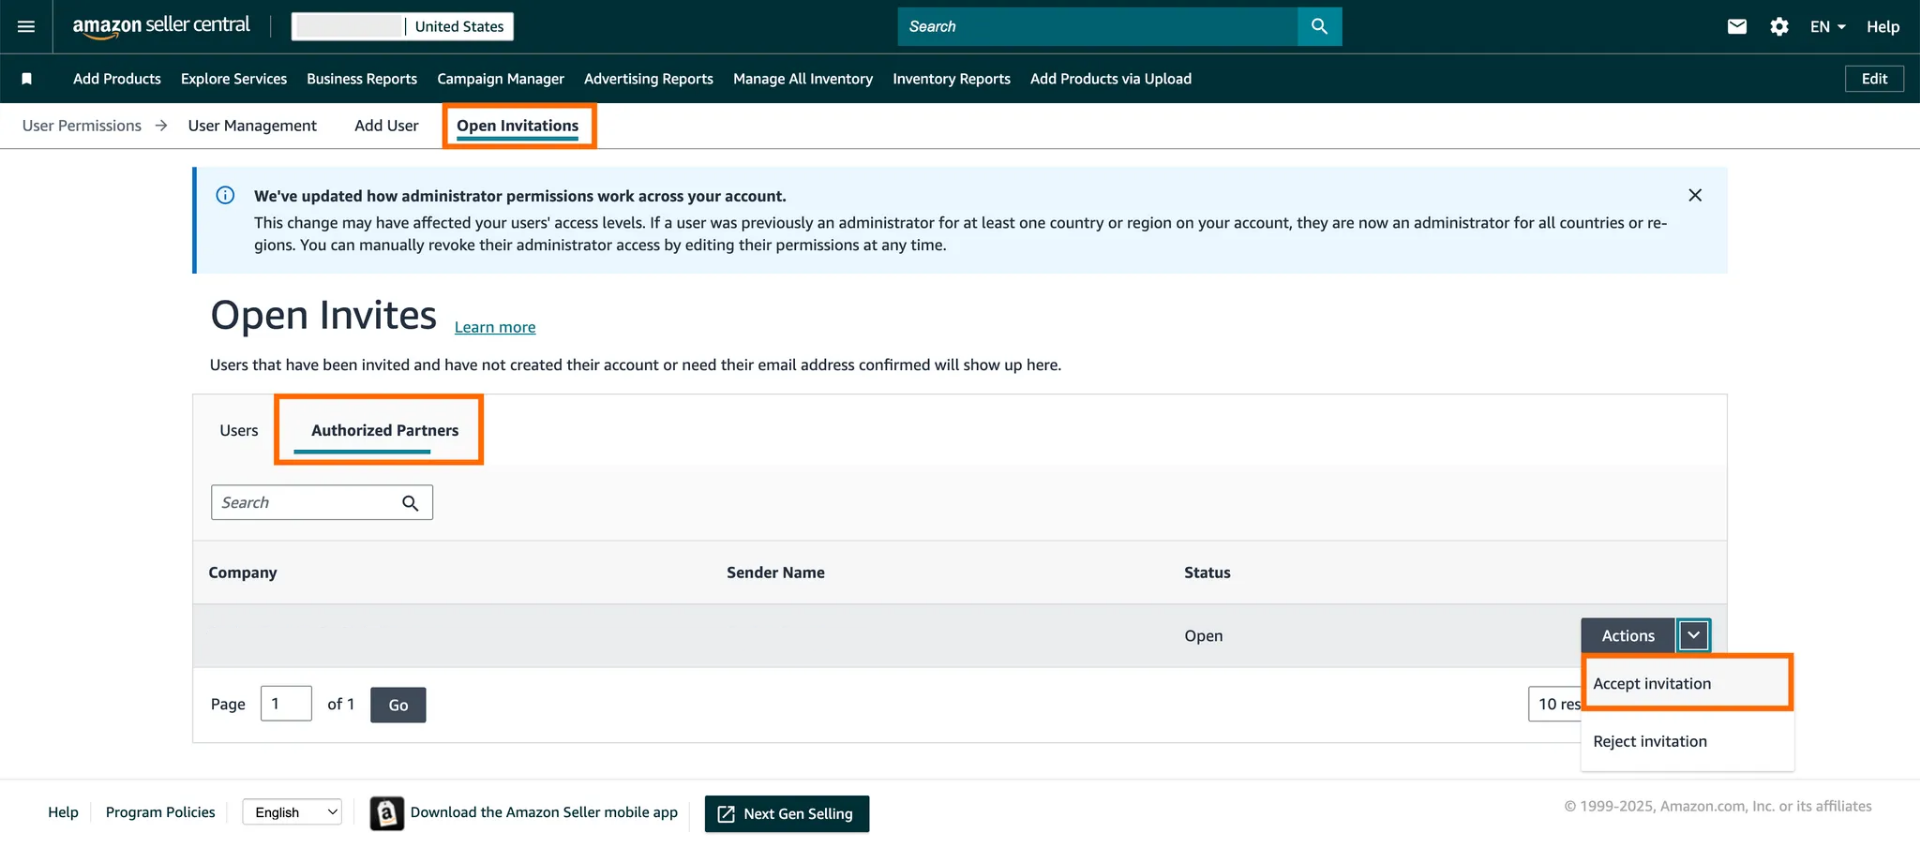
Go to the “Open Invitations” Tab
Next, click on the “Authorized Partners” tab
You’ll see the Open invitation from the service provider
Click the dropdown menu next to “Actions” and select “Accept Invitation”
You will automatically be redirected to the “Edit User Permissions” Page
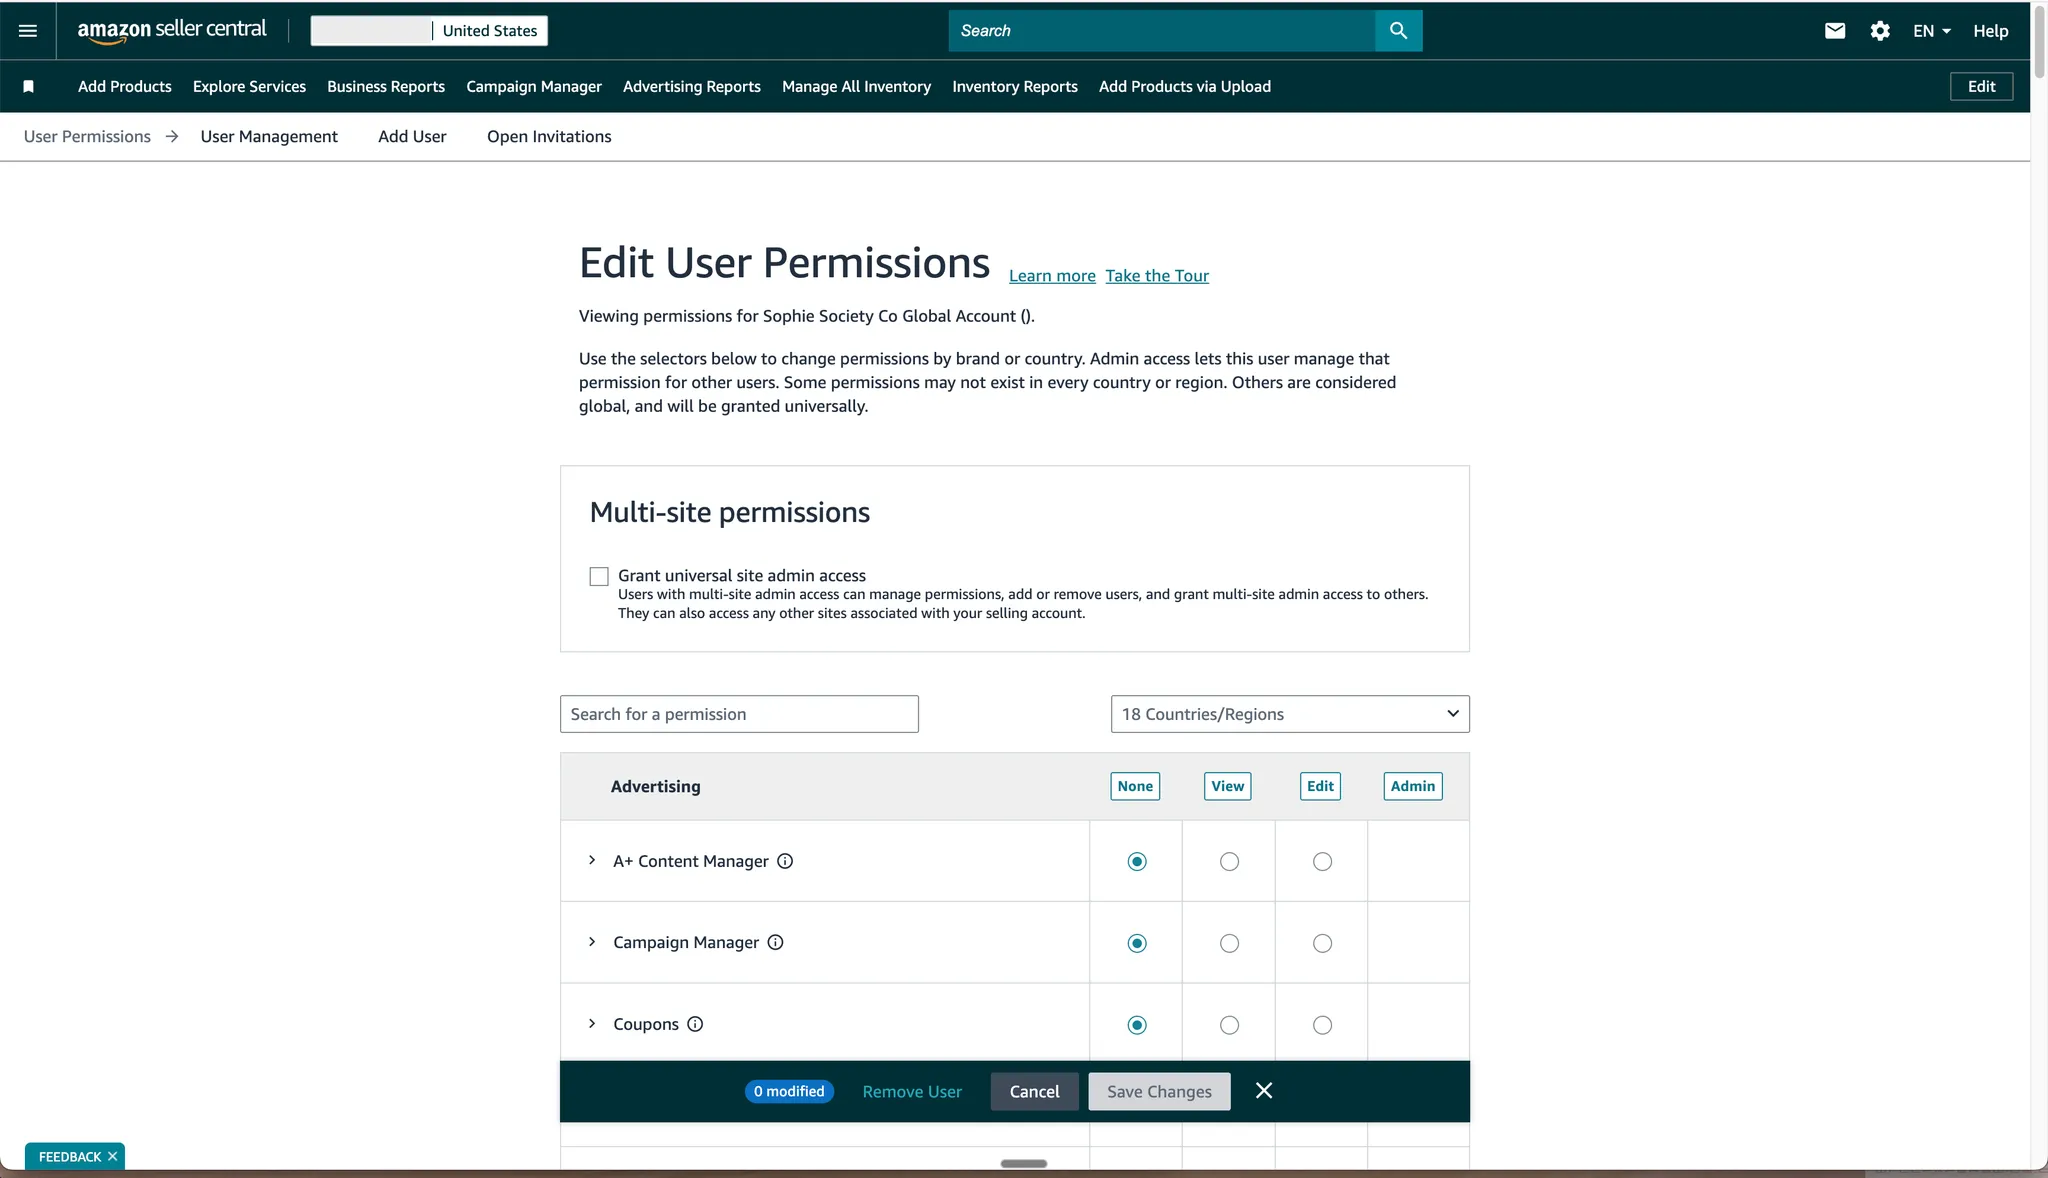
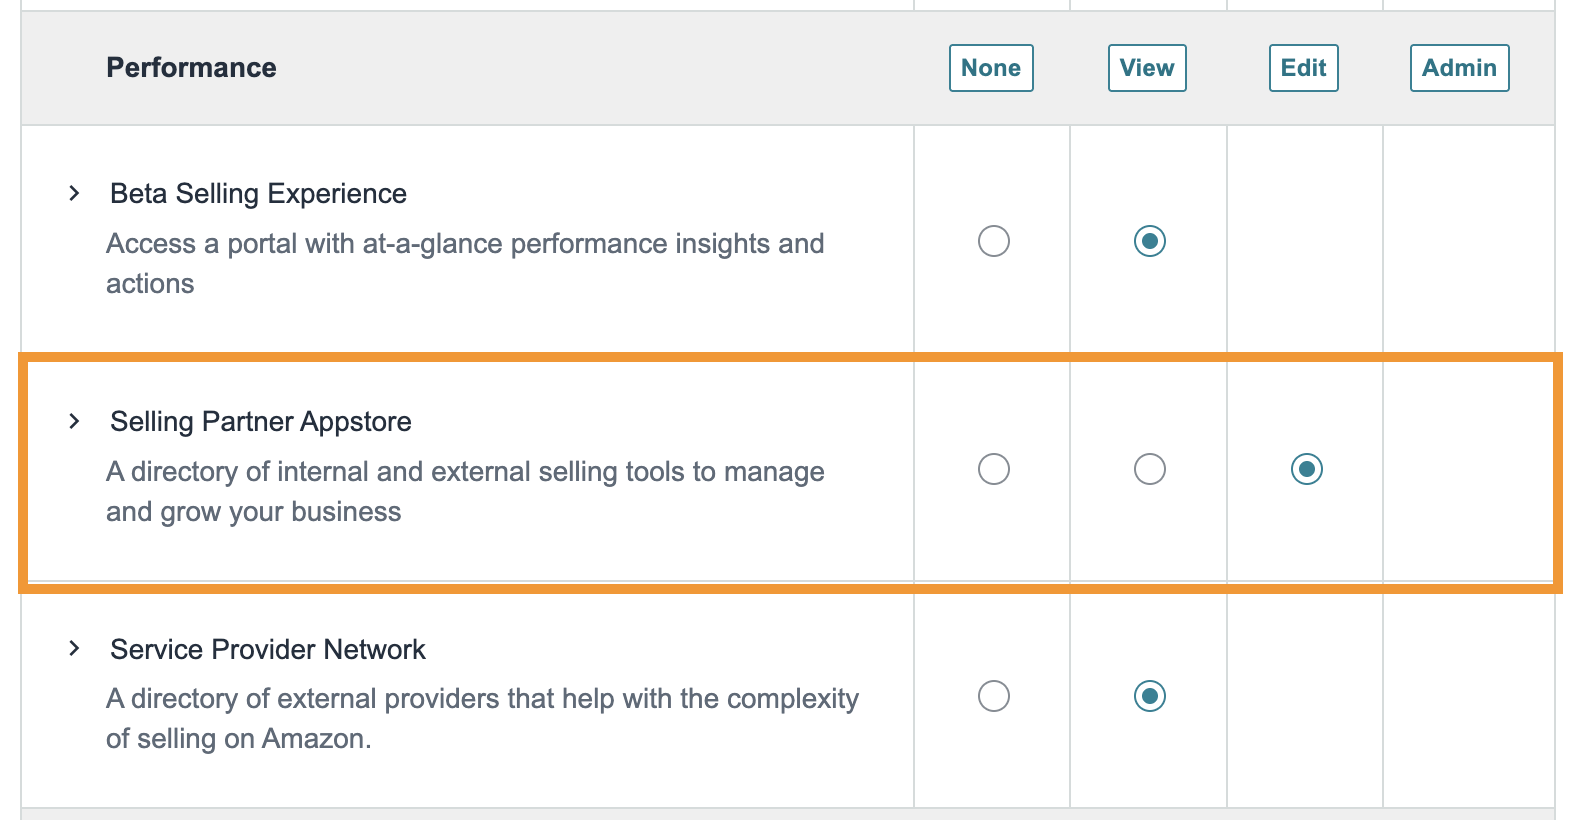
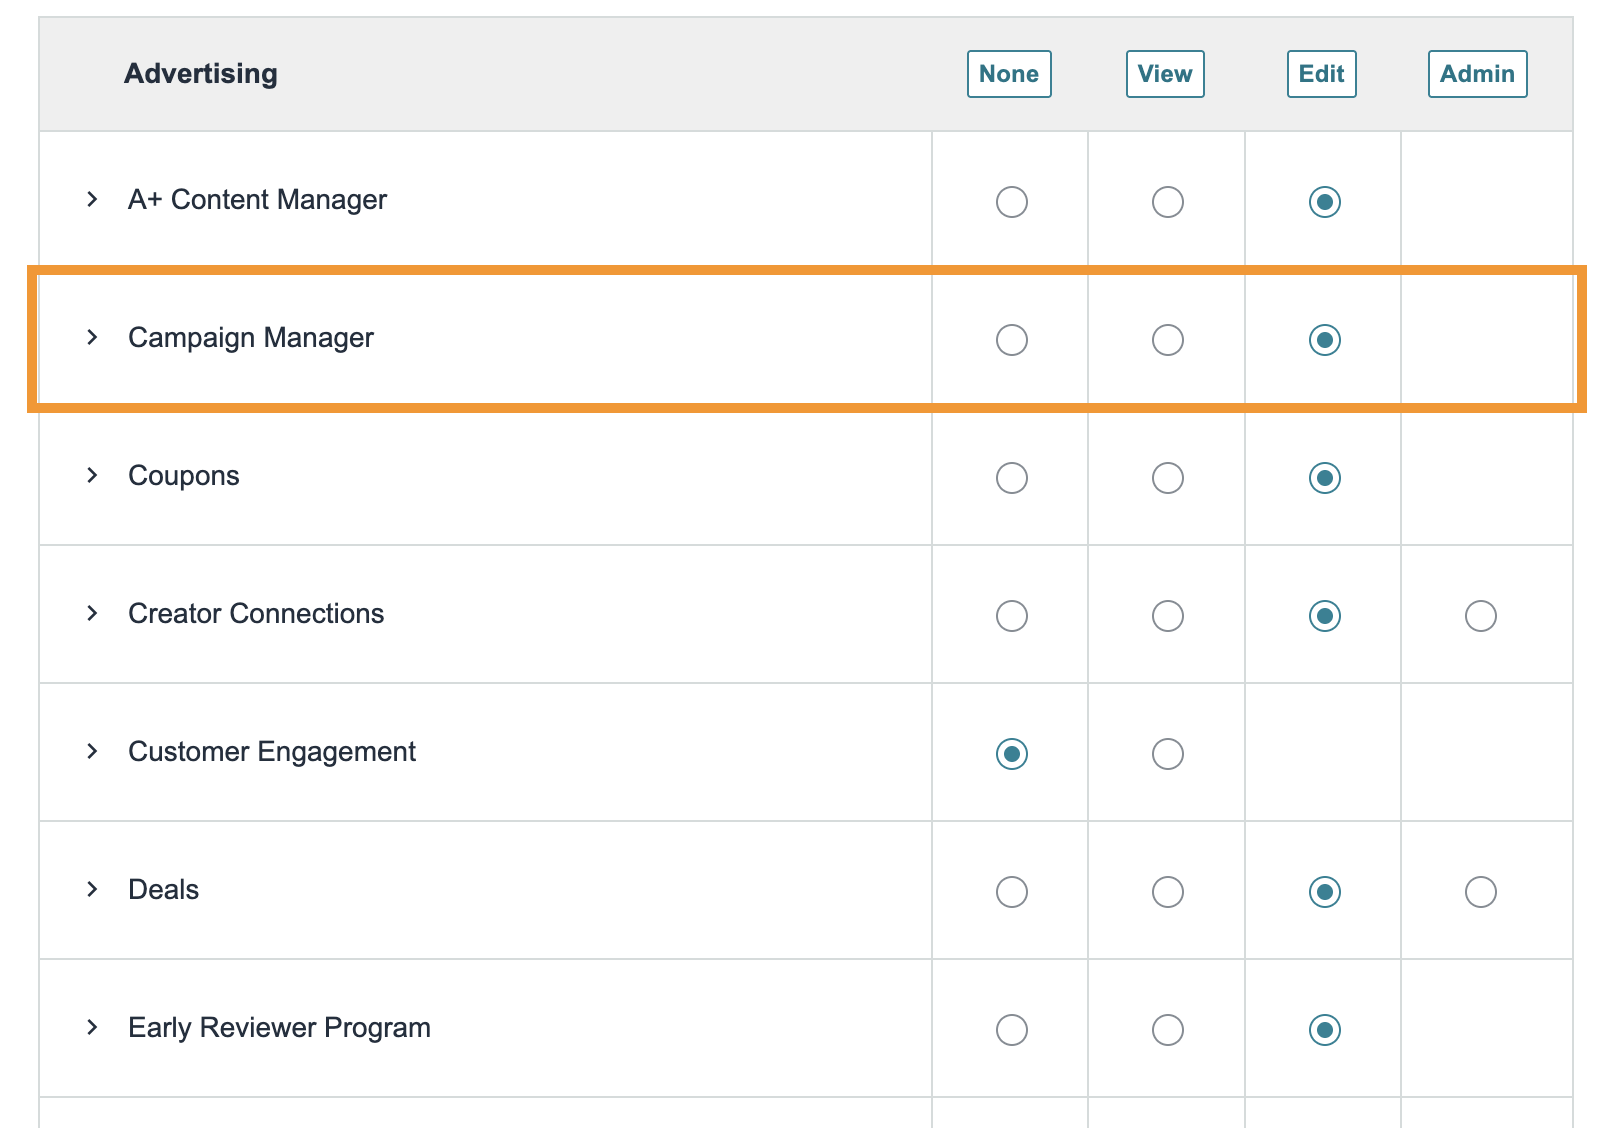
"Edit" for Campaign Manager Advertising
"Edit" for Selling Partner Appstore